REVIEW · PANAMA CITY FLORIDA
Panama City Beach: Beginners Scuba Diving Tour
Book on GetYourGuide →Operated by Try Diving Fun LLC · Bookable on GetYourGuide
Ready for your first underwater breath? This beginner scuba experience in Panama City Beach keeps things simple, safe, and hands-on right from the staging area at St. Andrews State Park.
I really like how the instruction is built for true first-timers: short safety basics, practice breathing at a shallow depth, and clear underwater hand signals. I also like the included GoPro photos and videos, because you leave with real keepsakes instead of remembering everything with blurry phone shots.
One thing to consider: it’s weather-dependent, and you’ll also want to budget for the $8 state park entrance fee before you even reach the water area.
Key details that make this tour work for beginners
- Shallow-water practice first so you can get comfortable breathing underwater at about 3 feet
- No certification needed and the tour is designed for people with no prior experience
- Small group size (up to 8) for more time and attention from your English-speaking instructor
- Underwater sign language practice so communication feels natural once you’re in the water
- GoPro videos and photos included to capture your best moments without extra cost
- Marine life viewing time built into the experience, not treated like an afterthought
In This Review
- Panama City Beach’s St. Andrews jetties: why this spot fits first-timers
- Arriving at the jetties: meeting point, state park entry, and parking reality
- What to bring (and what to wear) so you’re not stuck figuring it out
- The 10–15 minute safety briefing: the part that makes people feel calm
- Practice in shallow water (around 3 feet): learn breathing before anything else
- Your instructor’s style: patient coaching and lots of check-ins
- The best part for many people: calm marine time plus an actual “wow” moment
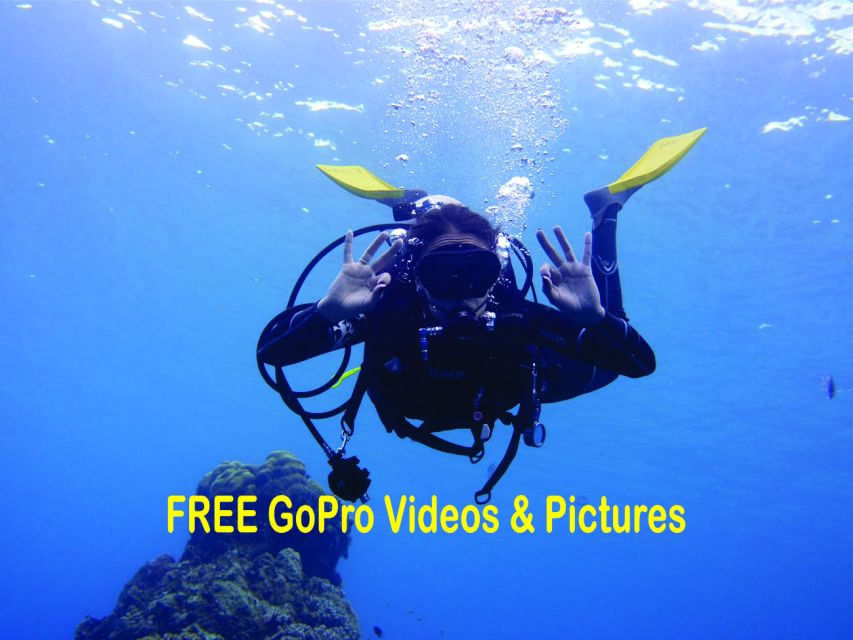
- GoPro videos and photos: free keepsakes that don’t feel cheesy
- 90 minutes and a $99 price tag: where the value really comes from
- Who this beginner scuba lesson suits best (and who should skip it)
- The booking call: should you reserve this beginner underwater session?
- FAQ
- Do I need scuba certification or previous experience?
- Do I need swimming skills?
- How long is the tour?
- Where is the meeting point?
- What should I bring?
- What ages can participate?
- What’s included in the price?
Panama City Beach’s St. Andrews jetties: why this spot fits first-timers
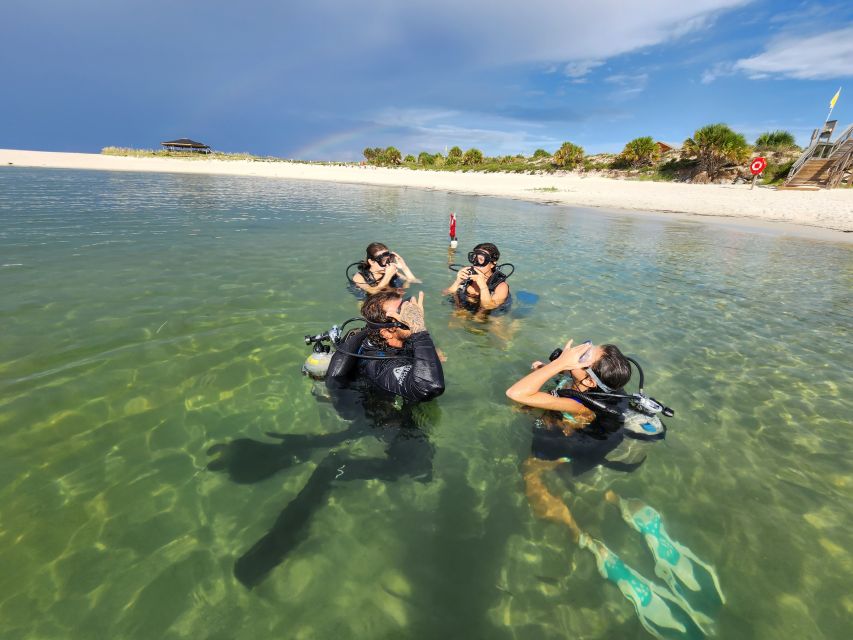
If you’re new to scuba, where you start matters. This tour uses the St. Andrews State Park jetties area as its base, and that’s a big reason it feels manageable. Instead of throwing you into the deep end, your time is structured around learning fundamentals and getting used to the sensation of being underwater.
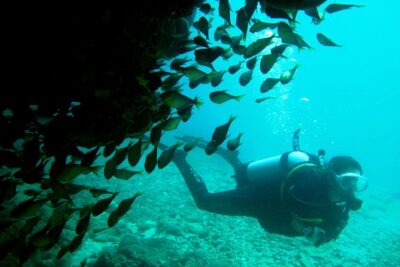
The setting is also built for marine life viewing. During the walk and guided time around the area, you’re not just standing around waiting to get in the water—you’re getting guided attention on wildlife and what to look for as you go. That helps first-timers feel like the experience starts right away, not only after gear is on.
One more useful detail from the experience: an instructor (Malin Mutafchiev is named in multiple bookings) has explained that sharks are extremely unlikely because of the rock wall that separates the ocean. You should still take safety seriously in open water, but it’s the kind of reassurance that matters when you’re trying something new.
Arriving at the jetties: meeting point, state park entry, and parking reality
Your meeting point is specific, so don’t wing it. You’ll arrive at the gate, and you’ll pay an $8 state park entrance fee to get into the park. After the gate, take the first right toward the sign that says BEACH ACCESS JETTY, then take the second right into the JETTY parking lot. From there, find the pavilions (picnic tables) at the end of the parking lot—your instructor will be waiting there.
Two practical notes for your day:
- Give yourself extra time to park and walk to the pavilions. If you’re even a little late, it can disrupt a small-group lesson.
- There can be an additional parking fee of $8 mentioned for the experience, so assume you’ll pay something at the park level and plan accordingly.
Also, the scuba experience is run by its own instructors, not affiliated with the state park. Still, you do have to enter the park to access the public beach where the tour happens. In plain terms: you’re paying for access to the right public area, and then the instruction takes over.
You can also read our reviews of more tours and experiences in Panama City Florida.
What to bring (and what to wear) so you’re not stuck figuring it out
This isn’t an “outfit matters” tour. It’s more about being ready to get in the water comfortably and quickly.
Bring:
- Swimwear
- A towel
That’s it for the personal checklist provided. I’d also recommend wearing something simple that dries fast, because you’re going from instruction to shallow practice in a short time window. If you’re traveling with extra layers, keep them minimal until you’re done.
Your group is small (up to 8), and the instructor will guide you through getting set up. Still, being prepared helps you spend more of your 90 minutes learning and seeing, and less time worrying about what goes where.
The 10–15 minute safety briefing: the part that makes people feel calm
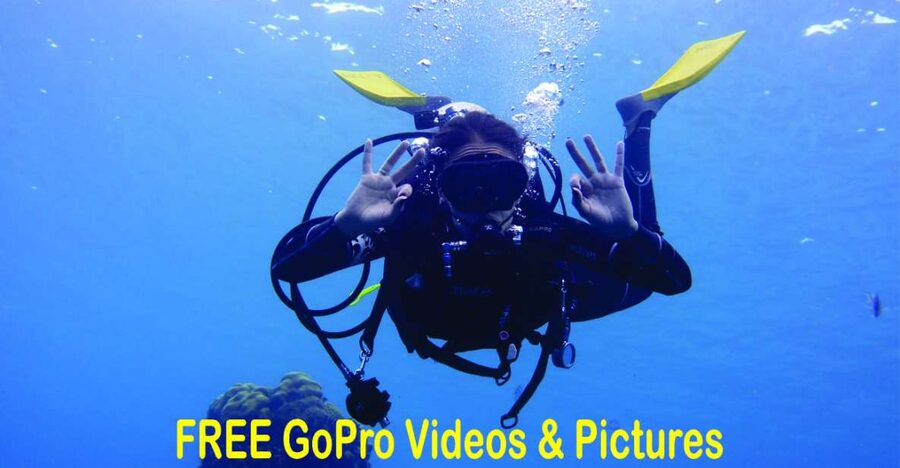
The lesson starts with a safety briefing lasting about 10–15 minutes. This is where you’ll learn the fundamentals you need before you ever fully get into the underwater experience.
For first-timers, this briefing is the difference between feeling nervous and feeling in control. You learn how scuba basics work in a practical way—enough to understand what’s happening to your body and breathing system, and enough to follow the instructor’s guidance confidently.
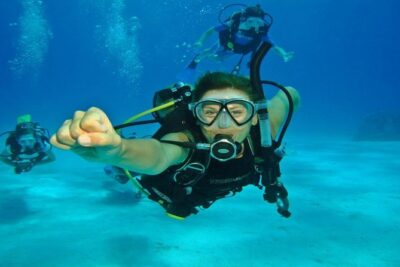
A key part: you’ll also learn underwater sign language. That means communication isn’t a guessing game when you’re wearing gear. Your instructor uses simple, clear signals so you can confirm you’re okay and understand what to do next.
When multiple people describe the experience, they repeatedly praise how the instructor checks in and uses hand signals to make sure you’re comfortable. That’s exactly the point of the briefing: it front-loads confidence so the water part stays relaxed.
Practice in shallow water (around 3 feet): learn breathing before anything else
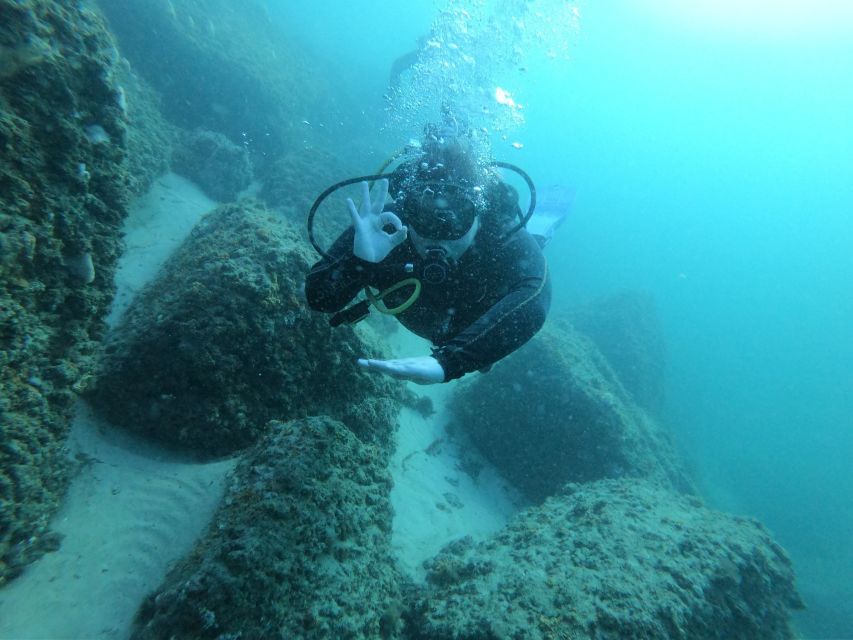
After the briefing, you head to the shore area for shallow-water skills practice at about 3 feet. This is where the tour earns its “beginner” label.
You’ll work on basic underwater skills in a controlled environment—close enough that the instructor can coach you step-by-step, but far enough to help you adjust to breathing underwater. For people who have never been underwater before, this matters a lot. It’s one thing to watch videos online; it’s another to feel your breathing rhythm change and learn how to stay calm.
You don’t need swimming skills, and you don’t need prior certification. That’s not a marketing slogan here—it’s part of how the lesson is designed. The shallow practice is meant to get your body comfortable first, then build from there.
If you’re nervous, this portion is often where you realize: the goal isn’t toughness. The goal is comfort. Once you can breathe steadily and respond to the signals, the rest feels less intimidating.
Your instructor’s style: patient coaching and lots of check-ins
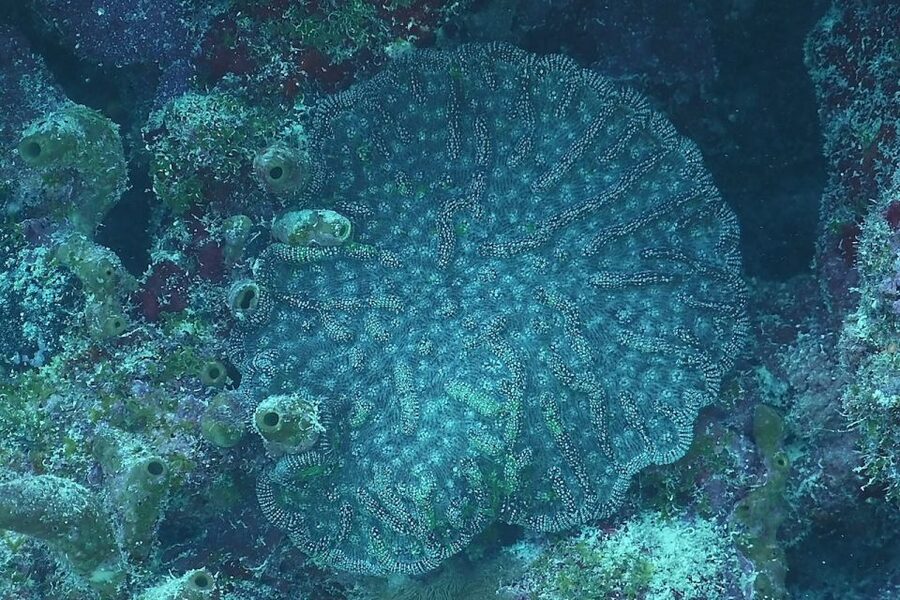
The instructor experience is a major driver of satisfaction here. Your instructor meets you at the pavilions, coaches you through the steps, and makes it a point to confirm everyone is okay as the lesson progresses.
In multiple bookings, Malin Mutafchiev is specifically mentioned as patient and detailed—someone who explains what you need to know in simple terms and keeps an eye on each person. People also note that he communicates by hand signals while checking comfort levels, which is huge for first-timers who aren’t sure what to focus on.
Even if you’re confident on land, underwater adds new sensations. So it helps when your instructor stays attentive, keeps instructions clear, and doesn’t rush the early learning steps. That’s what shows up again and again: coaching that keeps it low-stress.
The best part for many people: calm marine time plus an actual “wow” moment
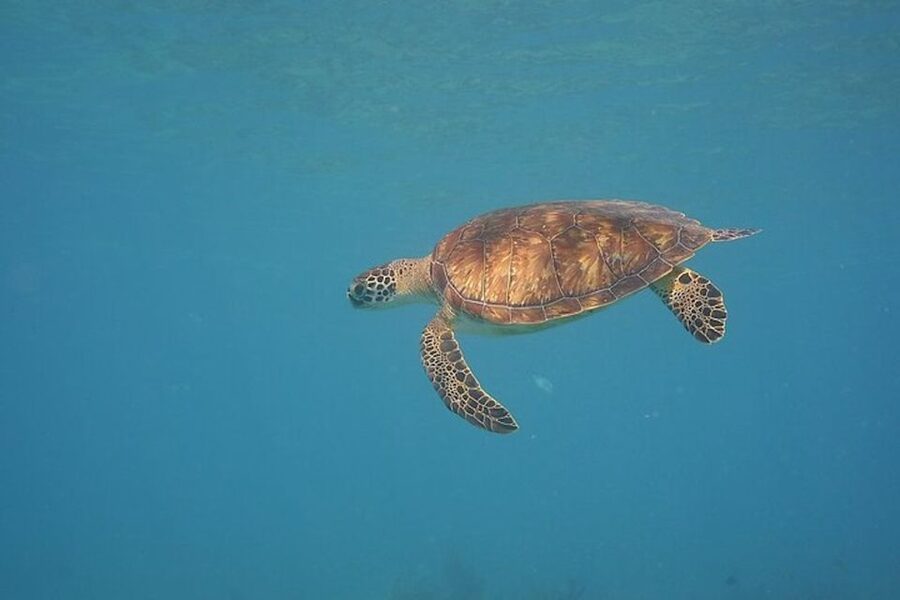
This tour doesn’t treat marine life as a bonus. It includes marine life viewing and wildlife viewing as part of the guided experience. That gives you something to look forward to even before you’re underwater.
Once you’re in the water, the goal becomes more than just learning technique. You’re there to explore and see what the local environment looks like up close. For many people, the first successful underwater breath is the wow moment. For others, it’s the surprise of how quickly everything shifts from scary to interesting once you’re moving through it at your own pace.
One practical tip from how the lesson is structured: pay attention during the shallow practice. That’s where you learn how to manage your breathing and how to respond to signals. When that clicks, you’re more likely to notice marine life instead of focusing only on gear.
GoPro videos and photos: free keepsakes that don’t feel cheesy
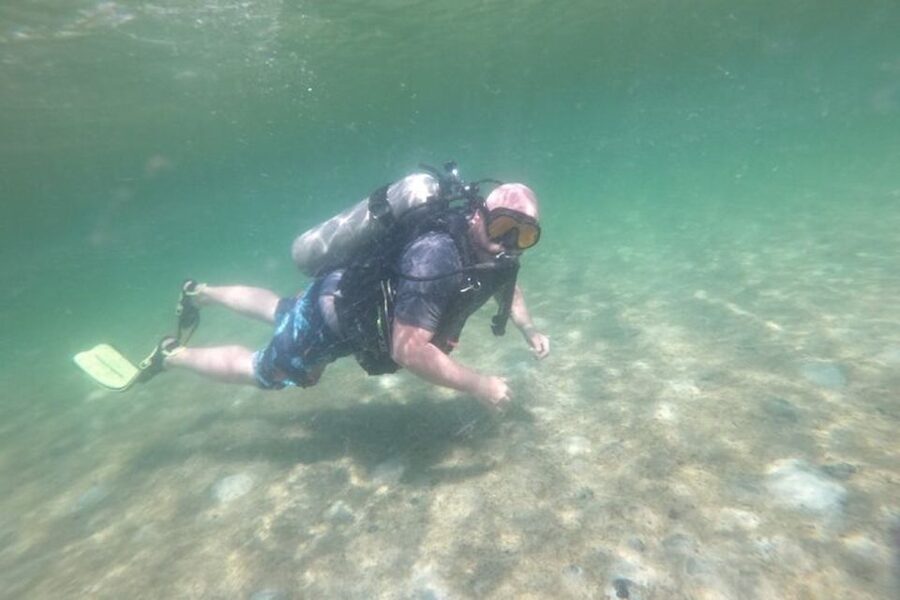
You get complimentary GoPro videos and photos included with the experience. That’s a big value add for a few reasons.
First, it removes a common vacation problem: you’re busy learning and staying comfortable, so your phone stays in your pocket. Second, underwater filming is hard to do yourself. Having the instructor capture your moments means you’re more likely to end up with real memories instead of one blurry shot where you’re peeking out of the water.
In bookings, people highlight that the instructor takes plenty of pictures and video, and that the results are good—enough that they end up being something you actually keep, not just proof you were there.
This is also one reason the experience feels personal. If you’re a first-timer, you don’t need a stage. You need supportive attention and a way to remember what it felt like.
90 minutes and a $99 price tag: where the value really comes from
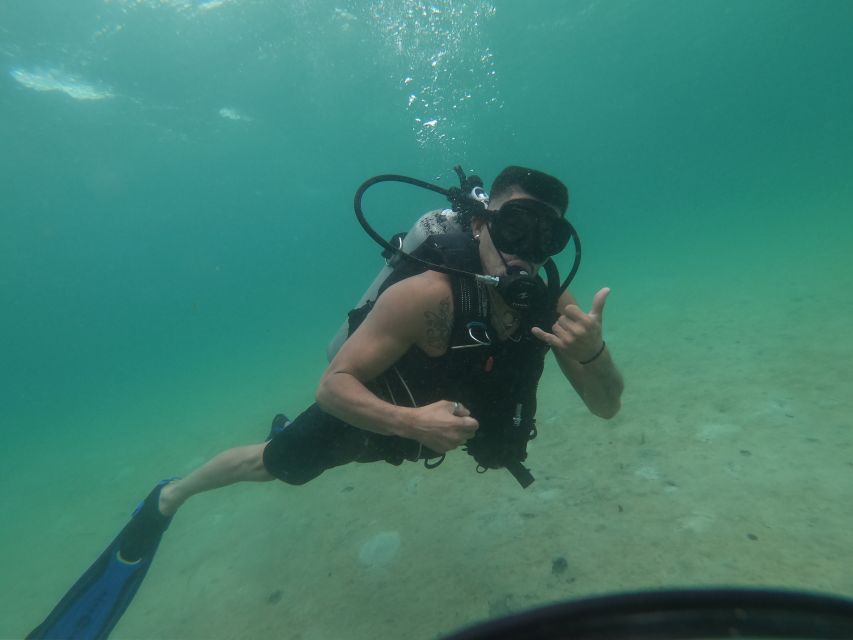
At $99 per person for about 90 minutes, this is positioned as an entry-level scuba lesson. The real question is: what are you paying for?
You’re paying for:
- A structured beginner setup that includes safety briefing and shallow practice
- An instructor who coaches you through underwater sign language
- A small group experience (limited to 8)
- Complimentary GoPro photos and videos
That last bullet matters. If you’ve ever tried to price out professional underwater photos separately, you know they can get expensive fast. Here, they’re included, which turns the lesson into a package instead of just a class.
Also, it’s not a giant group “line up and wait” format. Small groups mean your instructor can check in and adjust support based on how each person is handling the experience.
Yes, you should budget for the $8 state park entrance fee. But even with that, the experience still feels like solid value if your main goal is a first underwater try without complicated prep.
Who this beginner scuba lesson suits best (and who should skip it)
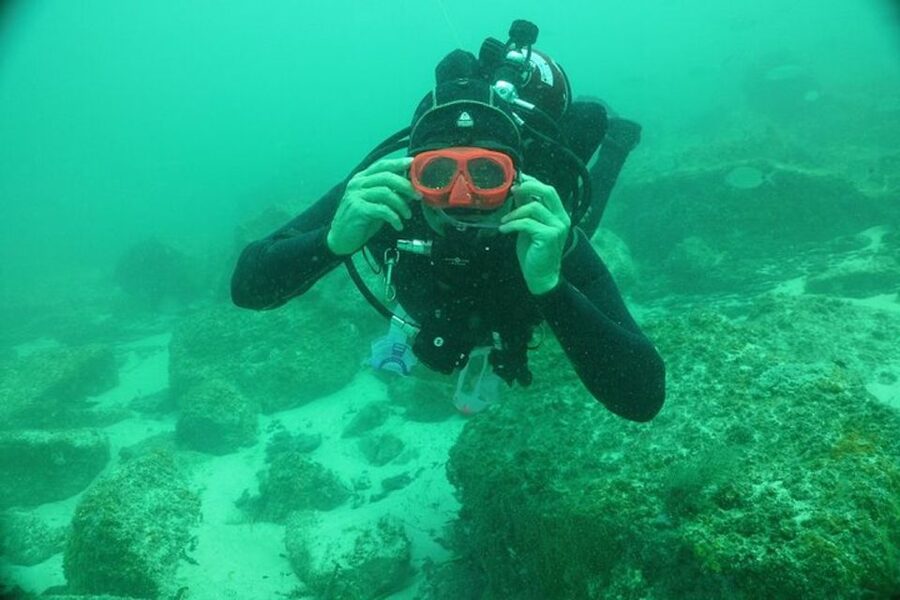
This tour is clearly aimed at first-timers. The experience states that no swimming skills, no certification, and no previous experience are required. So if you’ve been curious about scuba but didn’t know how to start, this is one of the more straightforward ways to test the waters—literally.
It’s also listed as having an age minimum of 10 years old. Multiple bookings mention teens and younger family members having a great time with the coaching and safety instruction, but this one still isn’t for kids under 10.
Not suitable:
- Children under 10
- Pregnant women
- People with a cold
If you fall into those categories, skip it and look for other age-appropriate or health-appropriate options instead.
Also, the experience requires good weather. If conditions aren’t suitable, you’ll be offered a different date or a full refund. So if your trip timeline is tight, check weather expectations and plan to be flexible.
The booking call: should you reserve this beginner underwater session?
If your goal is a confident first time underwater with a real instructor, this is an easy yes. The combination of shallow practice, underwater hand signals, and patient coaching is exactly what beginners need to avoid feeling overwhelmed. Add the included GoPro photos and videos, and you’re not just learning—you’re walking away with proof and memories.
I’d particularly book it if:
- You’re starting from zero and want step-by-step instruction
- You like the idea of a small group lesson where you can get check-ins
- You care about getting photos without setting up your own camera system underwater
I’d hesitate if:
- Your travel window is inflexible and you can’t handle weather-based reschedules
- You (or the person joining) are in a category listed as not suitable, like pregnancy or current cold
If you want to try scuba once, do it in a setting designed for beginners. This one is set up to help you breathe, learn signals, and actually enjoy the experience without pretending you’re a seasoned pro.
FAQ
Do I need scuba certification or previous experience?
No. This beginner-friendly experience is designed for people with no prior experience, and no scuba certification is required.
Do I need swimming skills?
No. The tour states that no swimming skills are required.
How long is the tour?
The duration is 90 minutes.
Where is the meeting point?
Meet at the St. Andrews State Park gate area, then pay the $8 entrance fee. After passing the gate, take the first right for BEACH ACCESS JETTY, then the second right to the JETTY parking lot. Check the pavilions at the end of the parking lot where the instructor will be waiting.
What should I bring?
Bring swimwear and a towel.
What ages can participate?
Participants must be at least 10 years old. Children under 10 are not suitable.
What’s included in the price?
GoPro videos and photos are included as complimentary keepsakes.