REVIEW · MIAMI
West Palm Beach: Beginner Scuba Diving Adventure with Videos
Book on GetYourGuide →Operated by Try Snorkeling and Scuba Diving- West Palm Beach · Bookable on GetYourGuide
First time underwater can feel weird. This beginner scuba intro in West Palm Beach turns that first-kinda-chaotic feeling into a clear, guided routine: short shore training, waist-deep practice, then a guided visit to local fish and sea life with your instructor keeping things calm and controlled. It’s hands-on, small-group, and you get video afterward.
What I love most is the way the session starts with a 10–15 minute basics briefing on the shore, then immediately moves into an easy height underwater (about 3 feet). I also like that you’re not just sent off on your own—your guide keeps teaching while recording, so you’ll have footage to remind you what it actually felt like.
One thing to think about: you’ll need to be comfortable in the water and follow the medical/safety rules, and the meeting area can feel confusing if you don’t notice your instructor right away under the bridge.
In This Review
- Key things to know before you go
- Phil Foster Beach Park: where you meet and how to find your instructor
- Gear, paperwork, and the basics your instructor runs through on shore
- Waist-deep practice at about 3 feet: the confidence builder phase
- The guided underwater tour: seeing marine life with calm instruction
- Instructor video: why the footage is worth the $99 (and what to know)
- What to bring: swimsuit, towel, sunscreen, and the wetsuit question
- Flying after your session: the simple rule to follow
- Who this is a great fit for (and who should skip it)
- Price and value: $99 for gear, instruction, and video
- Should you book this beginner scuba intro in West Palm Beach?
- FAQ
- Where is the meeting point?
- What time should I arrive?
- How long is the experience?
- Is swimming required?
- Can I wear prescription glasses or contacts?
- What should I bring and what’s included?
Key things to know before you go
- Small group (up to 8): less waiting, more individual checking-in from your guide.
- 10–15 minute shore briefing: you learn what matters before you go below the surface.
- 3-foot, waist-deep practice: you get breathing and basic control without jumping straight into “real” conditions.
- Video captured by your guide: a nice keepsake, as long as the camera works.
- You’ll likely see local fish up close: shallow, guided scouting is part of the fun.
- Two-language instruction (English/Spanish): helpful if you’re more comfortable communicating one-on-one.
Phil Foster Beach Park: where you meet and how to find your instructor
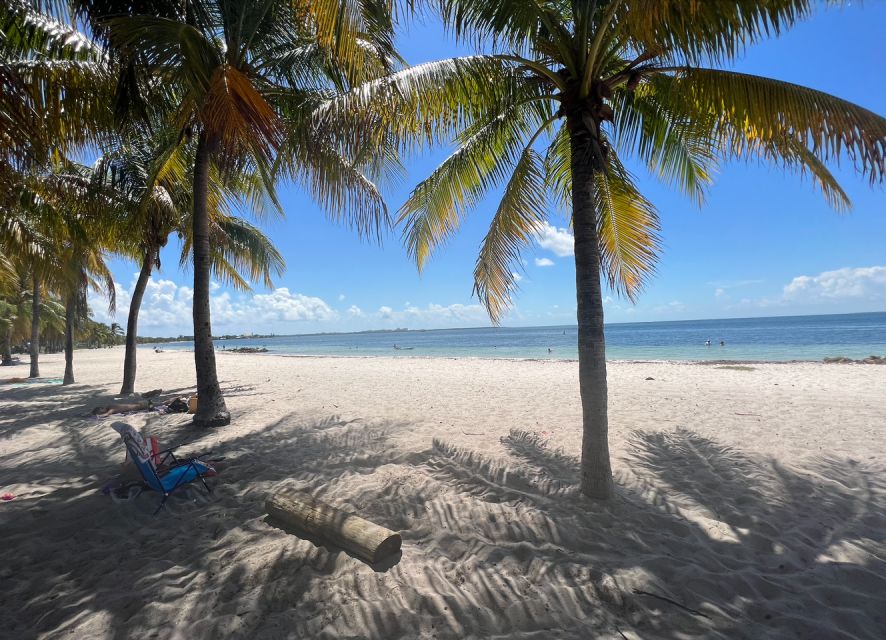
This experience is based at Phil Foster Beach Park in West Palm Beach. Plan to park and check in about 30 minutes before your scheduled start, because you’ll want time to get oriented, fill out the required paperwork, and be ready when the group gets called.
Meeting is under the bridge. If you arrive and don’t see your instructor right away (they may be finishing up a class), the key tip is to wait by the black storage trunk under the bridge near the entrance. That’s the spot to reference so you don’t end up wandering around trying to guess which person is yours.
Practical note: a few people have said the under-bridge meeting spot feels a little sketchy at first glance, especially if you’re new and you’ve never been there. The fix is simple—show up early, look for the trunk area, and ask right away once you see the team.
You can also read our reviews of more tours and experiences in Miami.
Gear, paperwork, and the basics your instructor runs through on shore
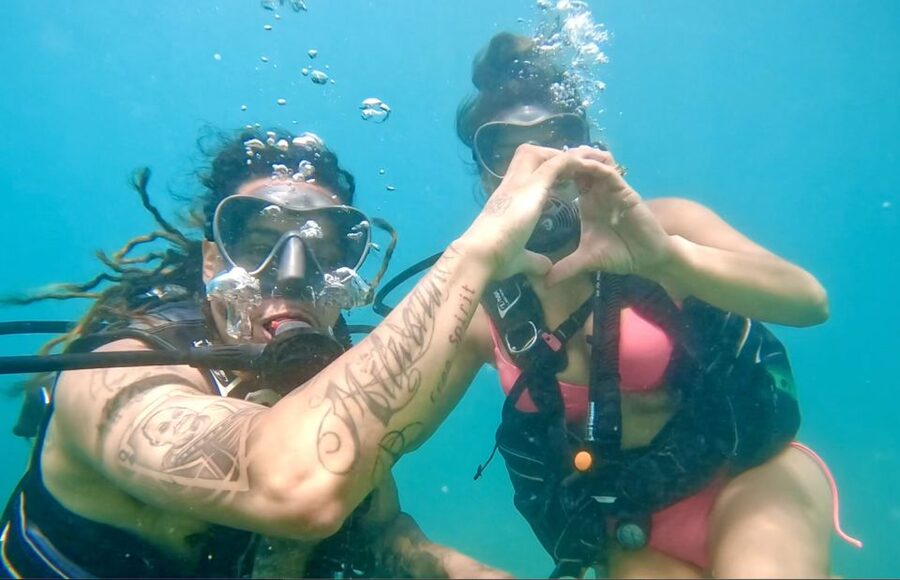
You’ll be provided scuba equipment and a professional guide, so you’re not trying to source gear on your own. Before you go in the water, every participant must complete a medical questionnaire and liability waiver. This is one of those steps that feels boring until you’re grateful it exists, because it sets up the safety level for everyone in the group.
Then your guide takes about 10–15 minutes on the shore to teach the fundamentals. Expect this to be plain-language, step-by-step instruction: how scuba equipment works for beginners, what to do when you’re underwater, and what you should focus on during practice. If you’re anxious, this is where you’ll get your breathing and gear questions answered before you go any deeper.
From the way instructors like Tabitha and Felipe are praised, the theme is patience. They’re checking that you understand the critical parts, not just speeding everyone through. That matters a lot for first-timers, because confidence is built on knowing what you’re doing—before you’re doing it.
Waist-deep practice at about 3 feet: the confidence builder phase
After the shore briefing, you ease into the water in waist-deep conditions—around 3 feet. This is where the session becomes real, but still comfortable. Your guide helps you get used to breathing underwater and coaches you through basic scuba skills at a pace that fits the group.
This part is valuable for two reasons. First, it prevents the classic first-time problem: panic from trying to learn everything at once while also managing the gear and your breathing. Second, you can physically feel what good control feels like, because you can still stand and reset instantly.
You don’t need to be a strong swimmer for this experience, but you do need to be comfortable in the water. So if you’re worried about floatation or feeling “stuck” while wearing gear, this shallow practice is exactly what you want—because it lets you build comfort before the guided underwater tour begins.
The guided underwater tour: seeing marine life with calm instruction
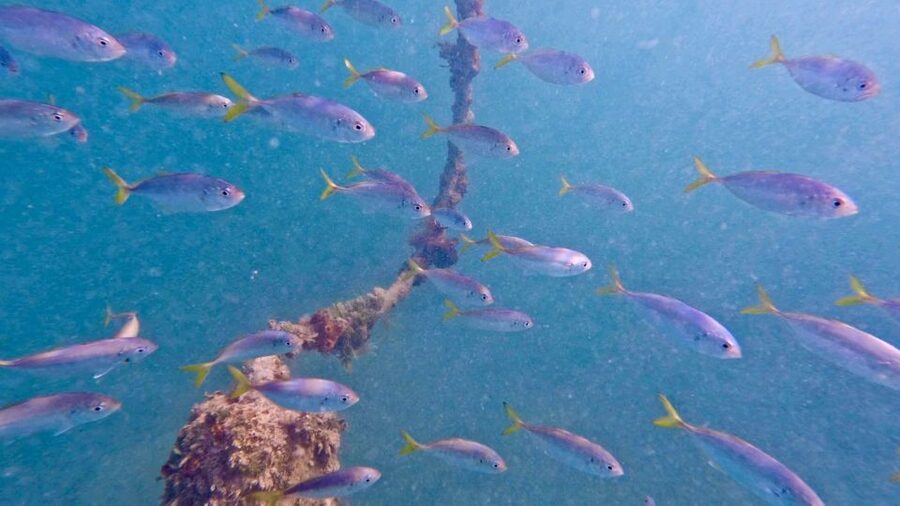
Once you feel comfortable, you’ll go on a guided underwater tour. This is the part most people come for: the chance to see sea life with a guide watching the basics, not just pointing and hoping you’re okay.
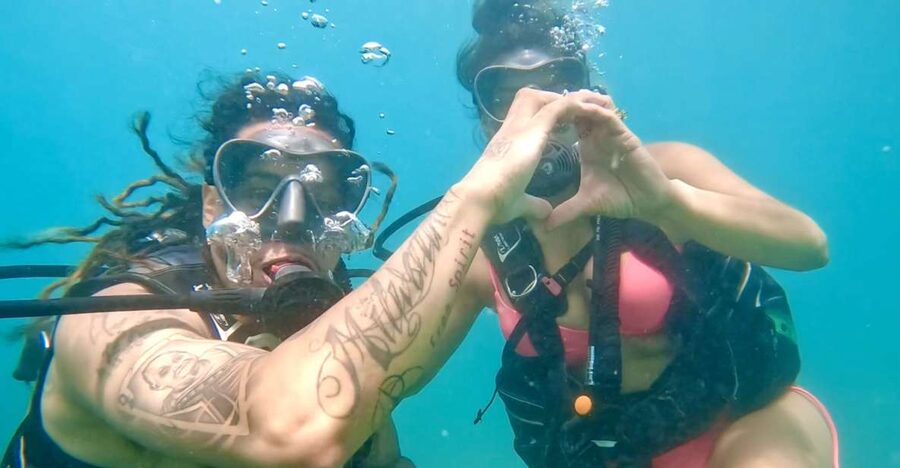
The tour happens as a guided experience with your instructor staying close and checking on participants. Guides such as Tabitha and Felipe are specifically praised for being attentive—moving person to person and making sure you’re managing your breathing and comfort. For first-time scuba participants, that “someone is always watching” feeling is a big part of why the experience goes well.
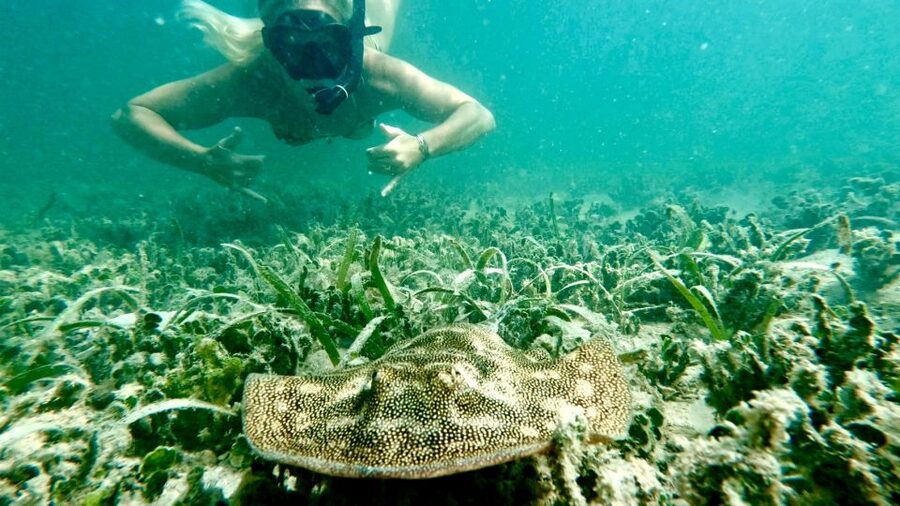
You’ll be in shallow water during the intro-style portion, and you can expect to see fish and other aquatic life. Some people have noted seeing more sea creatures than they expected even in crowded conditions, which usually comes down to the location and the guided approach: you’re not doing random wandering, you’re following your guide and staying in the right areas.
Overall timing is typically 1 to 1.5 hours, depending on the group size and how quickly each person feels comfortable. Small groups help here, because it reduces the usual bottleneck problem where slower participants get rushed.
Instructor video: why the footage is worth the $99 (and what to know)
A big perk is the complimentary video your guide captures during your adventure. This is useful because underwater memories can blur fast—breathing, gear checks, and moment-by-moment learning can crowd out what you actually saw. Having footage gives you something to rewatch when you’re back on land and thinking, Was that a fish right by my mask?
One important caution: if there are camera issues or a malfunction, the data provided says there is no refund for the tour. That’s not meant to be a scare tactic; it’s just good to understand how the video offer is structured.
If you’re the type who likes souvenirs that don’t require buying anything extra, this is one of the cleaner “value adds” in the price. Many people also love sharing the video with friends who didn’t get to experience it.
What to bring: swimsuit, towel, sunscreen, and the wetsuit question
This experience includes scuba equipment, so you’re mostly focused on swim basics. Bring:
- Swimsuit
- Towel
- Sunscreen
During cooler months, you’re recommended to bring a wetsuit or wetsuit top. The listing doesn’t specify water temperatures, so your best move is to check local conditions for the day you go and decide based on how cold you tend to get in open water.
Also think about eyewear. Prescription glasses cannot be worn under the masks. Contact lenses are allowed, or you can go without. There’s a neat detail here: underwater magnification makes objects appear about 25% closer and larger. So if you’re used to seeing distance on land, you’ll adapt quickly once you’re underwater.
Flying after your session: the simple rule to follow
If you’re planning travel the same day, remember this: flying within 12 hours after scuba is not recommended. That’s standard safety guidance, and it’s worth respecting even if your schedule is tight. If your dive experience ends late or you have a morning flight, consider building in extra time.
Who this is a great fit for (and who should skip it)
This is built for beginners, and the instructor approach is a big part of the positive feedback. You’ll get structured instruction, shallow practice, and a guided tour while you’re learning the basics.
It’s also a good choice if you want a fun, guided water experience without committing to a longer program. You’ll spend about 90 minutes total, and the whole point is to give you skills and confidence for your first time.
But it’s not for everyone. This activity is marked as not suitable for:
- People with heart problems
- Pregnant women
- People with pre-existing medical conditions
- Children under 10
If any of those apply, don’t guess. Take the safety rules seriously and talk with your doctor before even considering a scuba intro.
Price and value: $99 for gear, instruction, and video
At $99 per person for about 90 minutes, the value here comes from what’s included: a professional guide, scuba equipment, and complimentary video. If you’ve priced gear rentals plus instruction separately, you’ll see why bundled pricing works in your favor—especially for a first-time experience.
This is also a small-group experience (limited to 8 participants). That usually means more attention per person, fewer gaps in instruction, and a smoother time in the water. For beginners, those aren’t “nice extras”—they’re part of the safety and confidence equation.
One thing to keep in mind: you’re paying for an intro session, not a long certification track. That’s not a downside if your goal is a first underwater experience with guidance and coaching.
Should you book this beginner scuba intro in West Palm Beach?
If you want your first time underwater to feel structured, safe, and supported, I’d say yes. The combination of a shore briefing, shallow practice around 3 feet, and close instructor monitoring is exactly what reduces panic for first-timers. Add the video and you’ve got a satisfying souvenir that captures more than you’ll remember in the moment.
Book it if:
- You want a guided, beginner-first experience with patient instructors like Tabitha or Felipe
- You’d enjoy seeing local fish and sea life without handling everything alone
- You value getting footage of your experience
Consider skipping it if:
- You don’t meet the medical suitability rules listed for the tour
- You’re not comfortable in the water, even in waist-deep conditions
- You’ll be flying within 12 hours afterward
FAQ
Where is the meeting point?
Meet at Phil Foster Beach Park and find your instructor under the bridge. If you don’t see them, wait near the black storage trunk under the bridge by the entrance.
What time should I arrive?
Please park and check in 30 minutes before the tour starts.
How long is the experience?
Plan for about 90 minutes (the underwater portion can vary, typically 1 to 1.5 hours depending on group size and comfort).
Is swimming required?
Swimming is not required, but you must be comfortable in the water.
Can I wear prescription glasses or contacts?
Prescription glasses cannot be worn under the masks. Contact lenses are allowed, or you may go without. Underwater magnification makes objects appear about 25% closer and larger.
What should I bring and what’s included?
Bring swimsuit, towel, and sunscreen. Scuba equipment and a professional guide are included, plus complimentary videos from your guide (camera malfunctions can affect the video offer, with no refund for the tour).